In one sentence: let Claude Code, when it “needs an image,” draw the image itself—without a human going into ChatGPT to generate it and paste it back, and without opening a separate
OPENAI_API_KEYfor it.
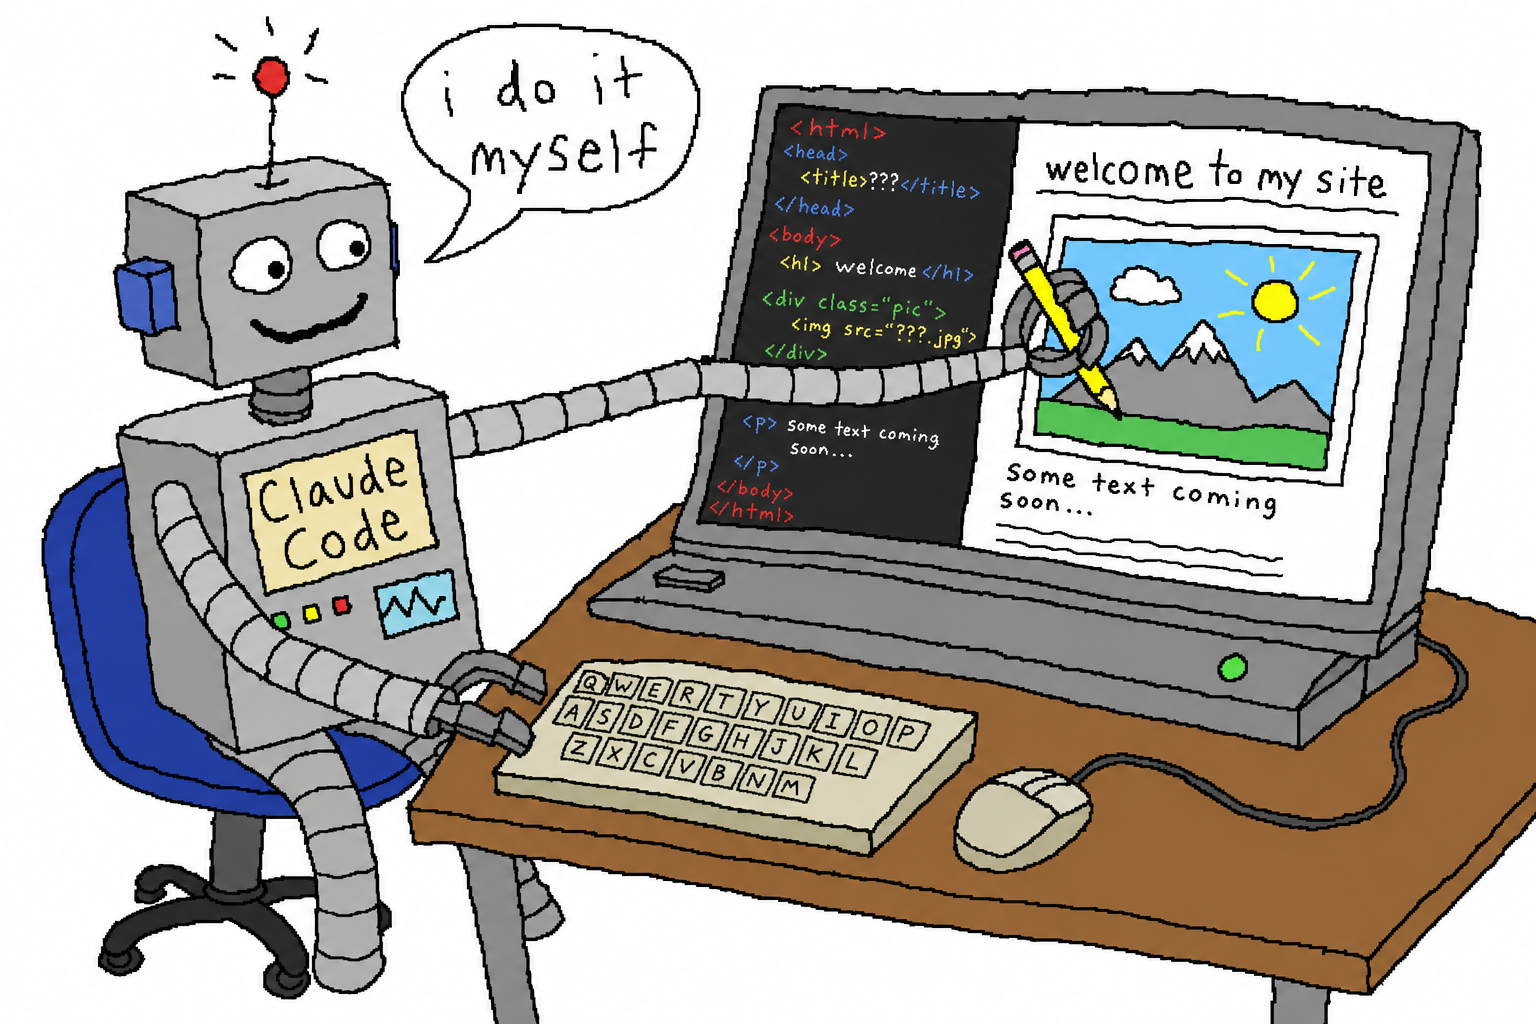
1. Original Intent: Don’t Let the Agent Get Stuck “Waiting for Someone to Draw”
If you want an agent like Claude Code to truly handle a project end to end, you’ll eventually hit the same wall: it needs an image.
A README hero banner, a placeholder icon for an app, an illustration for a landing page, a prototype mockup, a few sprites… it can write the code, but it can’t draw the image. So the workflow breaks right here:
- Either you give it an
OPENAI_API_KEYand use the official image API—an extra key, extra billing, extra configuration, and a completely separate account from your ChatGPT subscription; - Or you open ChatGPT yourself, generate the image, download it, and paste it back into the project—the agent just sits there waiting, and the word “autonomous” loses all meaning.
The original intent behind chatgpt-imagegen is to tear down this wall: when the agent needs an image, it creates one itself, with zero human handoff. It uses the ChatGPT subscription you already have, requires no API key, and doesn’t require running any gateway service.
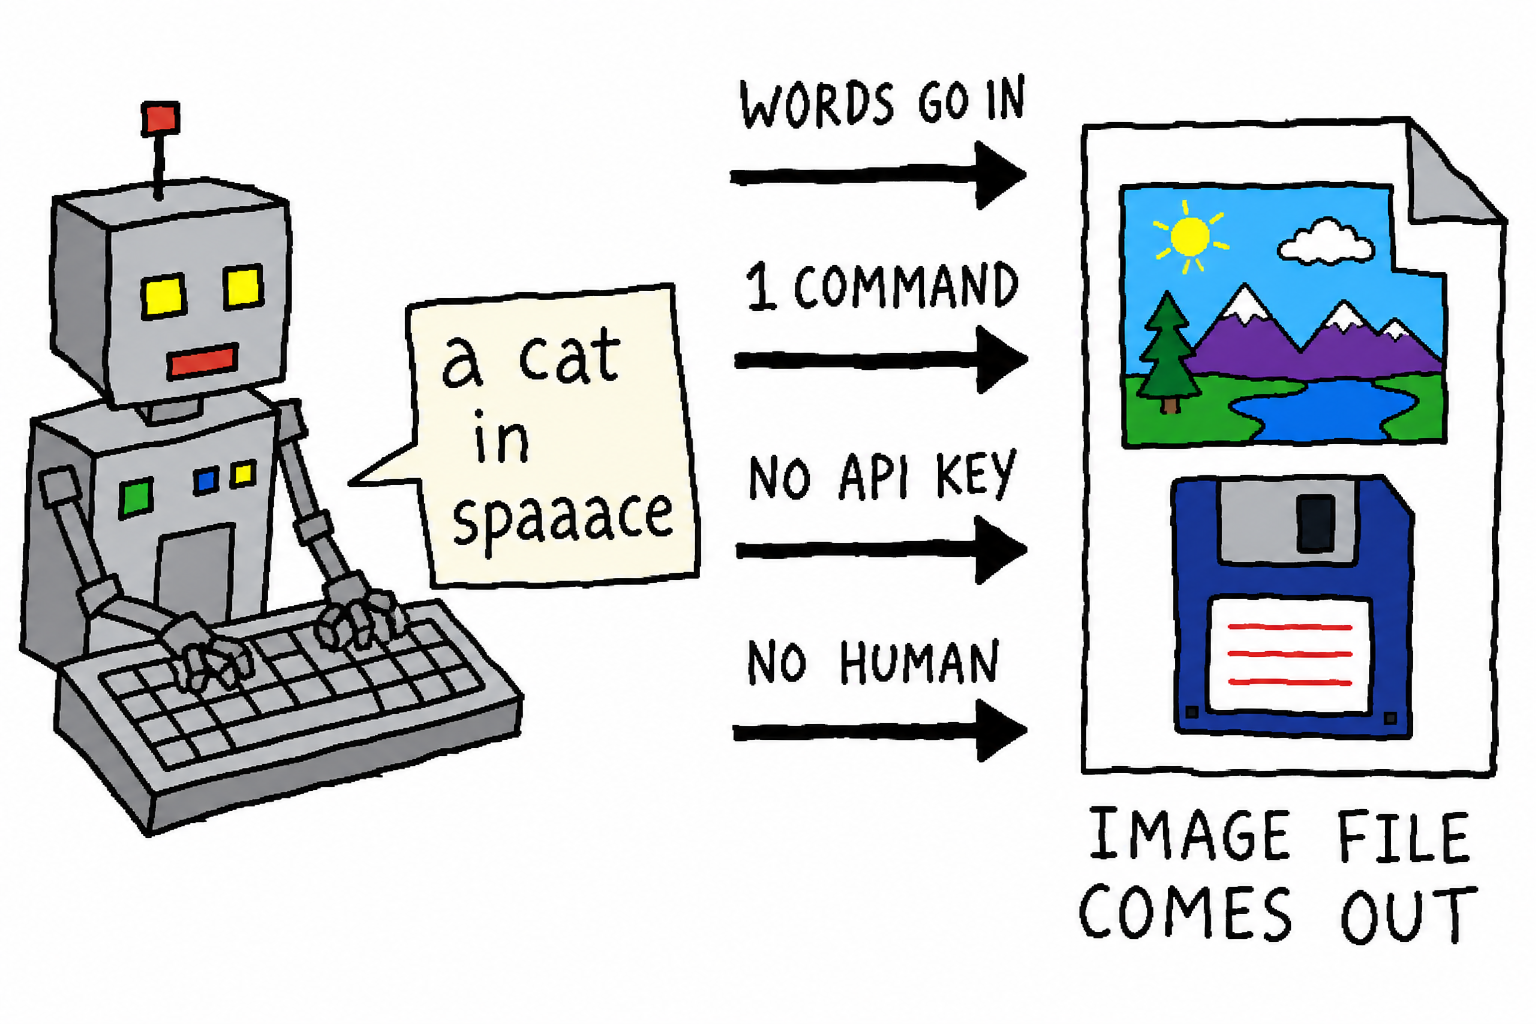
2. One command, and the agent can use it
It’s a single-file, zero-dependency Python CLI (standard library only). Once installed as a skill, the agent can call it directly:
chatgpt-imagegen "a watercolor cat sitting on a windowsill" -o assets/cat.png
# -> assets/cat.png  (1,344,804 bytes)
The agent-optimized details are all there: with --quiet, stdout outputs only the saved path (so OUT=$(...) can take over cleanly), while the progress bar goes to stderr; each backend has a cross-process concurrency lock, so even if the agent fans out a batch, it won’t blow up your account.
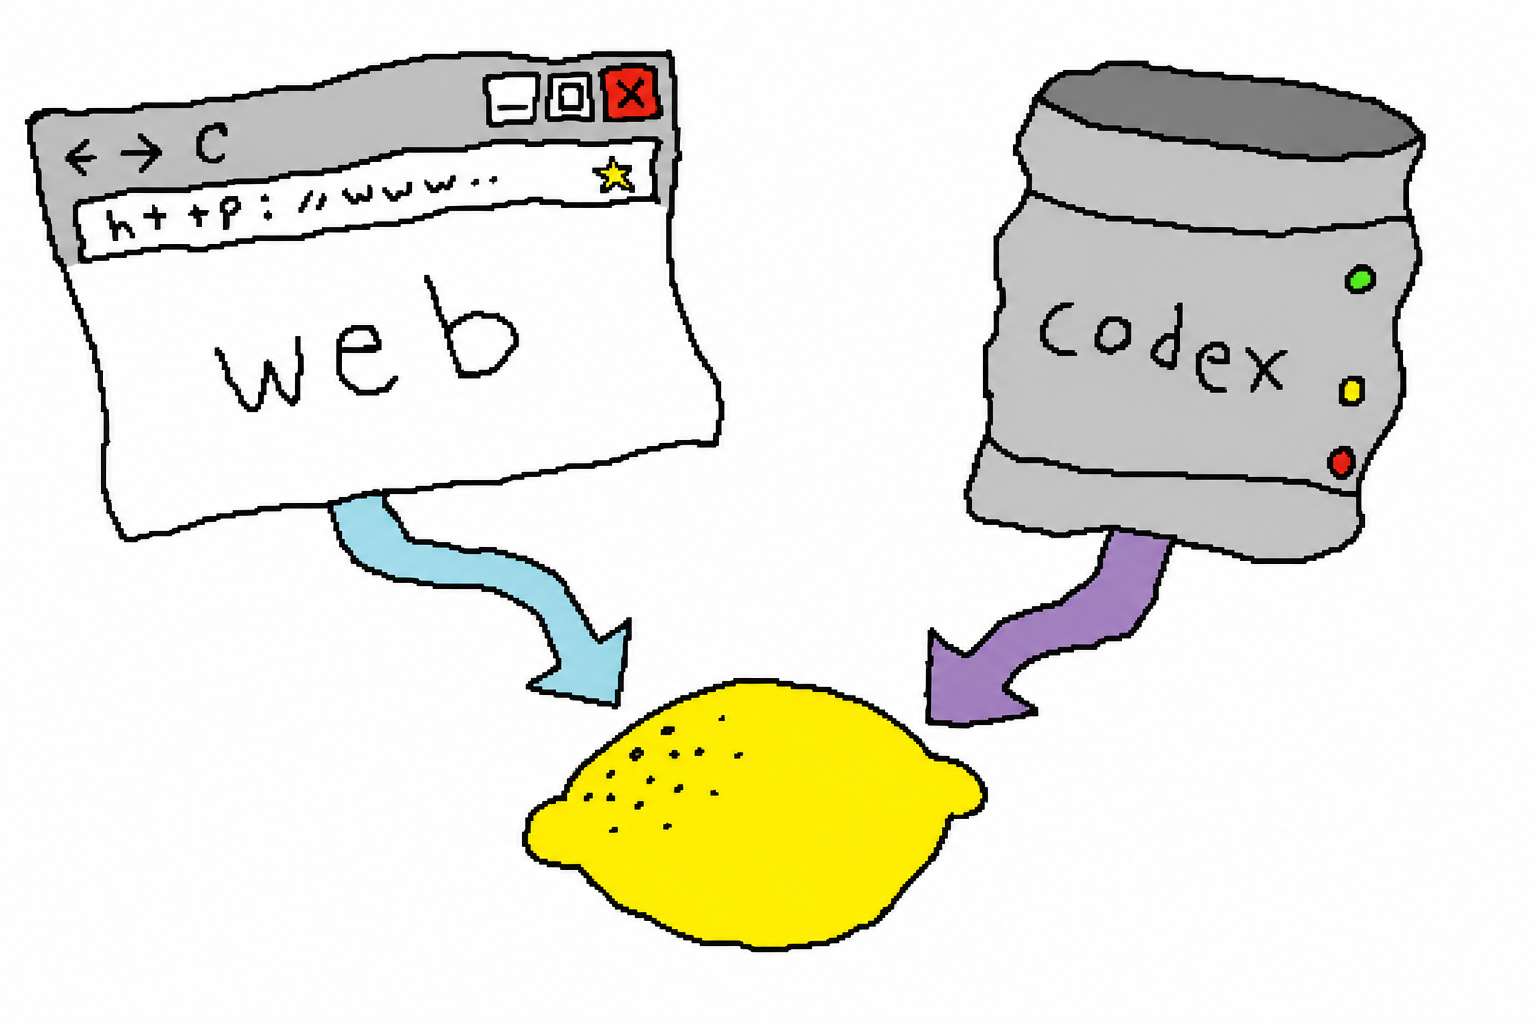
3. Core Principle: Two Backends, Two Billing Buckets
This is the most important design in the entire project. The same ChatGPT subscription actually has two image-generation entry points, and they spend from two different quota buckets:
| Backend | How It Generates Images | Which Quota It Uses | Best For |
|---|---|---|---|
web (default) | Uses chrome-use to drive your real, already logged-in Chrome, generating images in a normal chat | Chat quota; does not touch metered Codex usage | Laptops/desktops with a logged-in Chrome open; free accounts work too |
codex | Headless POST to backend-api/codex/responses, reusing ~/.codex/auth.json | Codex usage (the metered bucket, usually the one you want to save) | Servers/headless agent machines without a browser |
The default is auto: try web first (saving Codex quota), and only fall back to codex when the browser is unavailable (no chrome-use / not logged in). The point of this strategy is: if we can avoid spending metered quota, we do.
Why Does the Web Backend Need a Real Browser?
Intuitively, “generating images in a normal chat” sounds like it should just be a direct POST to that backend-api/* endpoint. But you can’t: those consumer-facing endpoints sit behind Cloudflare human verification plus a sentinel proof-of-work challenge—the page runs sentinel/sdk.js on the spot to compute a token, and a bare bearer request gets rejected at the edge.
Only a real, logged-in browser can pass that gate. That’s the entire reason the web backend drives Chrome instead of calling the API directly, and why it has to use chrome-use (a real Chrome connection that can pass anti-bot checks) rather than an ordinary headless driver.
4. The image model is genuinely good
Saving quota doesn’t mean lowering image quality—the web backend uses the native image generator from the ChatGPT website, so the results are the same as typing the prompt manually in the app. The three images below are real outputs from this tool, including both text-to-image and image-to-image examples:
| Text-to-image | Image-to-image: turn a watercolor cat into a golden oil painting | Image-to-image: put a logo on a wooden sign |
|---|---|---|
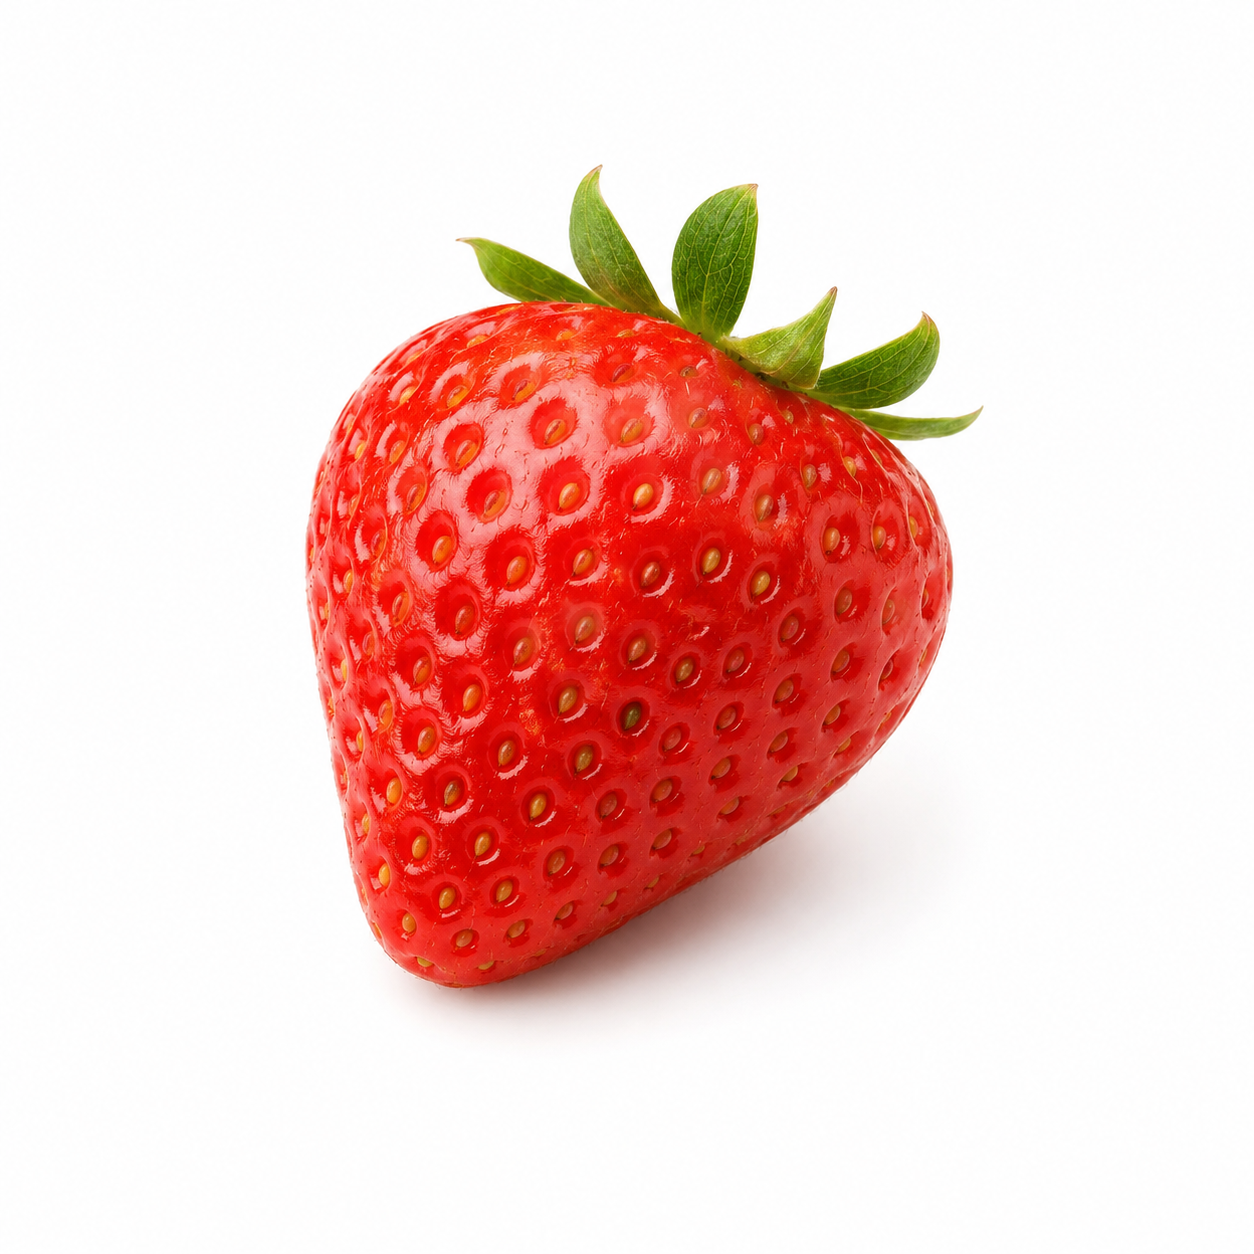 | 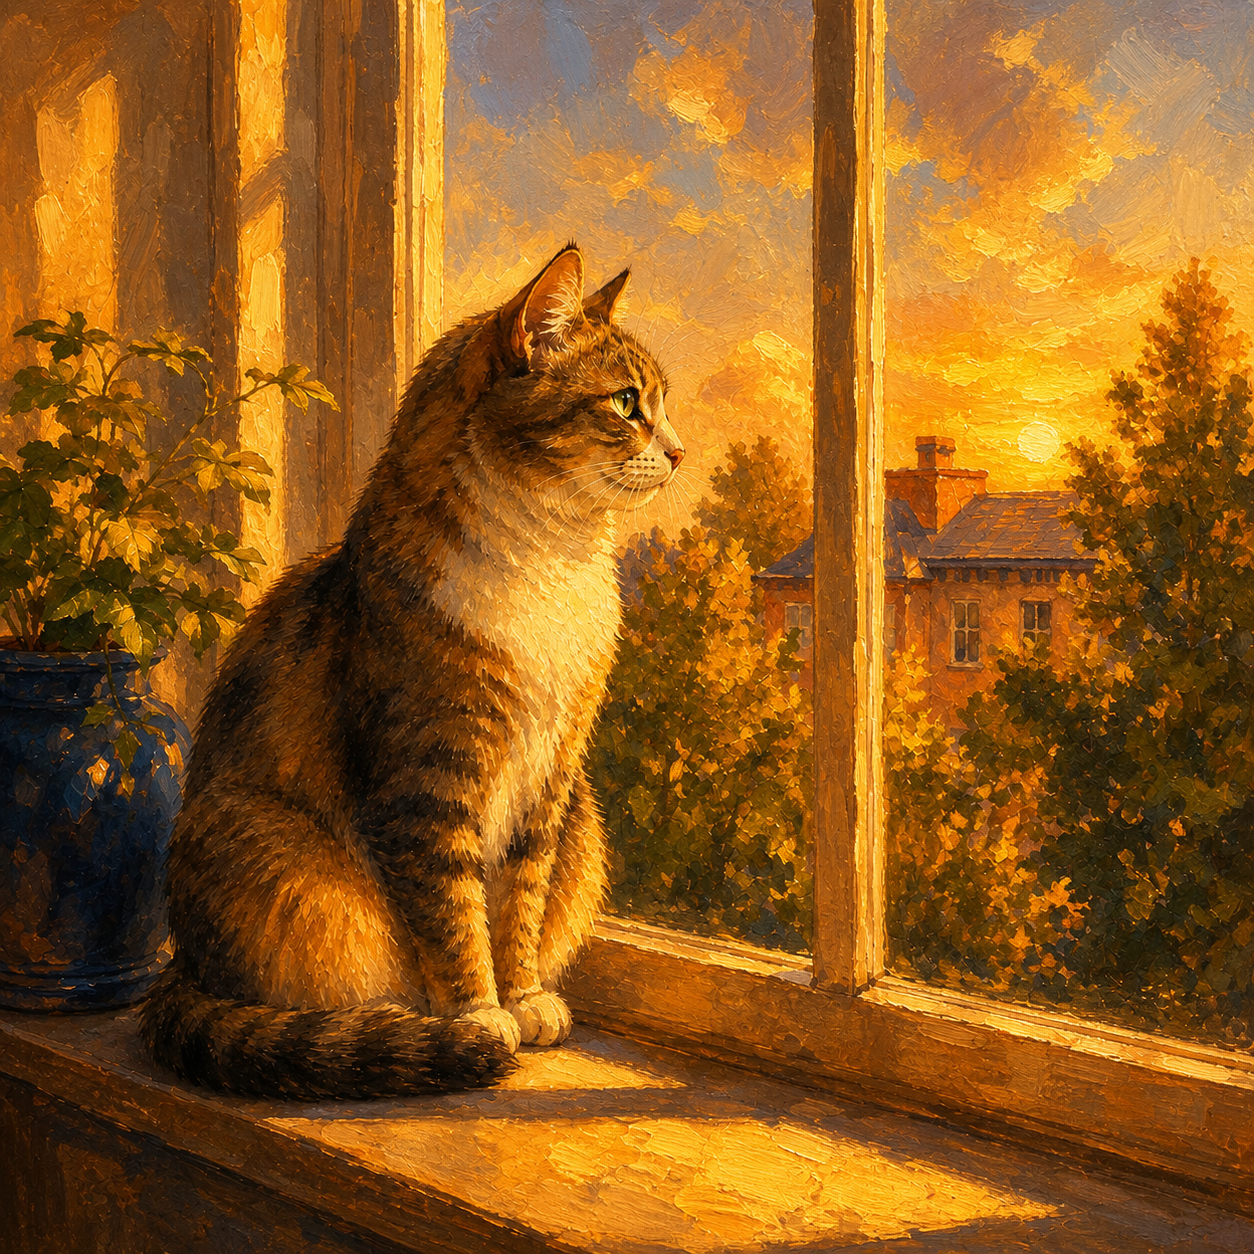 |
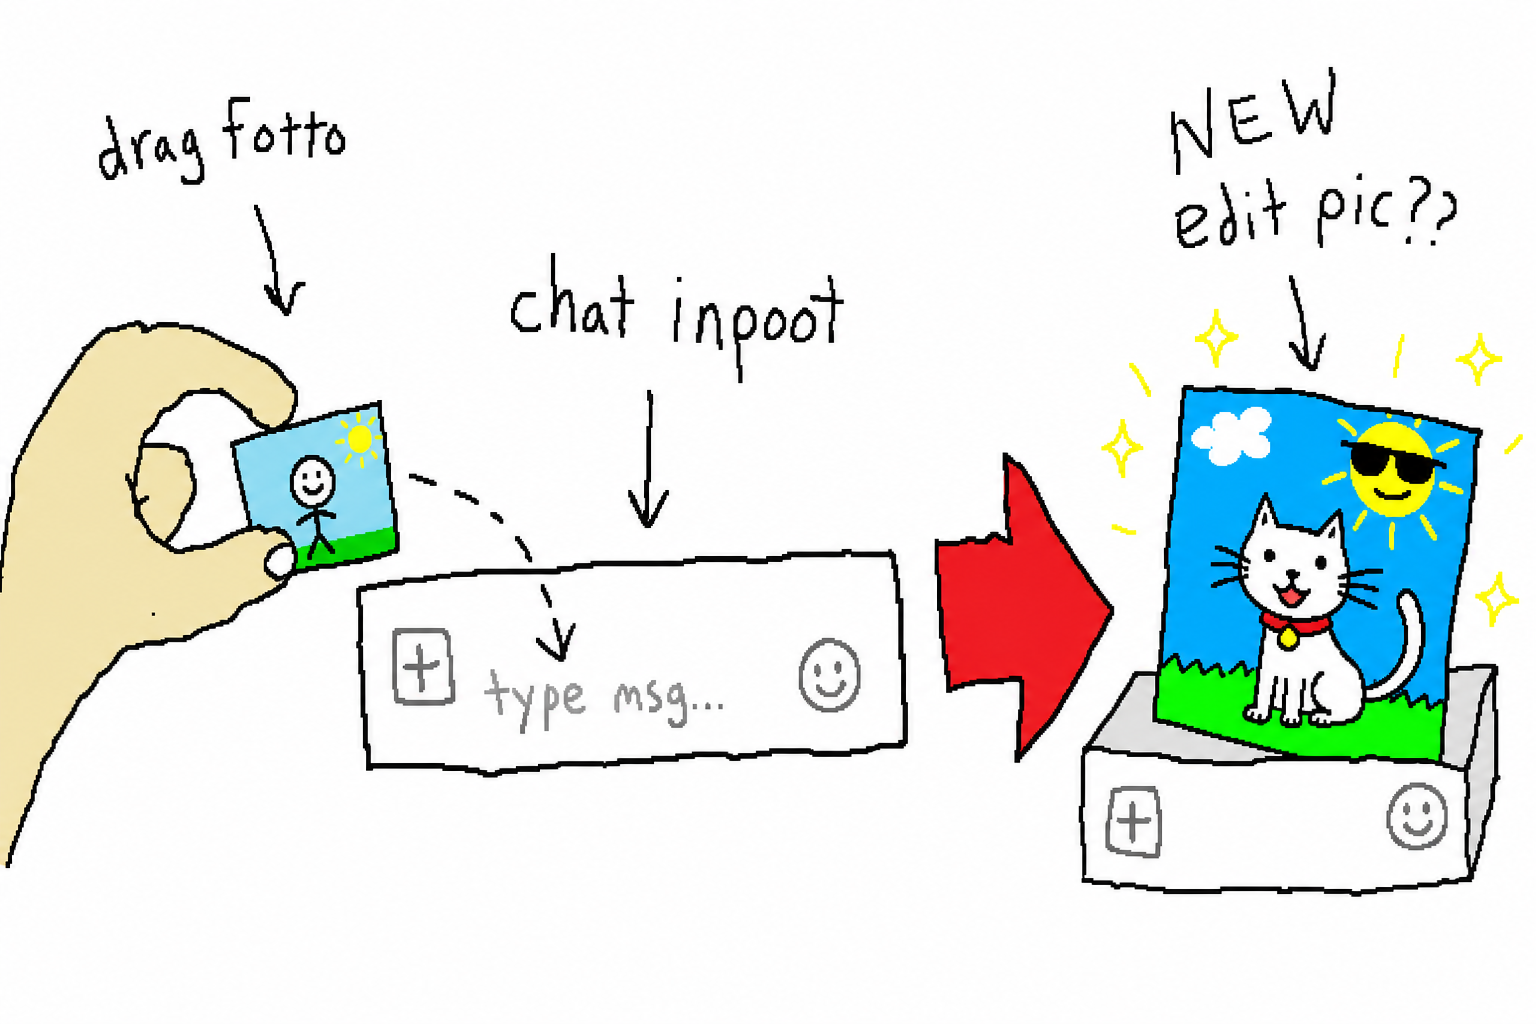
5. Image-to-Image: Give It a Reference Image
Pass in a reference image (-i), and it will edit the image instead of drawing from scratch — the same as dragging an image into the ChatGPT input box and asking it to redraw it. The two backends implement this differently:
- web: injects the reference image into the composer’s standard
<input type="file">viachrome-use upload, then sends the edit instruction — zero site-specific adaptation, and no Codex quota consumed; - codex: inserts the reference image into the request as an
input_imagecontent block, forcibly triggering the image tool.
# Turn a logo into a cyberpunk neon sign
chatgpt-imagegen "Turn it into a cyberpunk neon sign" -i logo.png -o neon.png
An Interesting Implementation Pitfall: How to Identify “the Generated Image”
The web backend is driving a real page, so it has to identify the generated image from the DOM. There are three counterintuitive points here:
- Images in the new ChatGPT go through
backend-api/estuary/content, no longer the oldoaiusercontent; - During image-to-image, the reference image you uploaded is echoed back in the user bubble with a brand-new
src— if you’re not careful, you’ll grab “the original image you uploaded yourself” as the result; - The generated image is an independent image card, not wrapped inside an assistant message element.
So the correct detection logic is: look inside <main> for new images matching the image-host domain, but exclude any images belonging to the user bubble.

6. A Design Philosophy Built for Agents
Put these principles together, and you get the design direction of this project:
- Single file, zero dependencies, pure standard library — an agent can pull it down and run it immediately, with no
pip install, no virtual environment, and no resident process; - Installable as a skill —
npx skills add leeguooooo/chatgpt-imagegen -g, usable directly from Claude Code / Codex / Cursor and others; - Cost-saving by default — auto mode prioritizes the unmetered web path; use codex only when you really need speed or are on a headless machine;
- Results land in the workspace — what the agent receives is a saved file path, ready to go straight into the repo;
- Conversations are archived automatically — the web backend files each image-generation conversation into a ChatGPT Project (default:
imagegen), without polluting your history.
In one sentence: this is not an image tool for humans with a CLI bolted on; it was designed from the start for “agents creating their own resources when they lack them.”
7. Getting Started
# As a skill (recommended, for agents)
npx skills add leeguooooo/chatgpt-imagegen -g

# Or as a standalone CLI (zero dependencies, single file)
git clone https://github.com/leeguooooo/chatgpt-imagegen
Then just tell your agent, “draw a hero image for the README” — it will handle the rest on its own.
Tool repository: chatgpt-imagegen | underlying browser automation engine: chrome-use.
Side note: the intentionally bad doodle-style schematic diagrams in this article, along with the nice-looking example images above, were all produced by this tool itself. The bad ones are a matter of explanatory style; the good-looking ones show what it can really do — and that contrast is the best demo of all.
Comments
Replies are public immediately and may be moderated for policy violations.